
You’ve spent hours perfecting your Source Filmmaker scene. The lighting hits just right, your character movements flow beautifully, and the camera angles tell your story perfectly. But now comes the moment that separates dreamers from doers: turning that raw project into a finished video. That’s where SFM Compile enters the picture, and honestly, it can feel like learning a new language if you’re just starting out.
Don’t sweat it. This guide breaks down everything you need to know about compiling in Source Filmmaker—from what it actually means to how you can optimize your workflow and dodge those frustrating errors that pop up when you least expect them.
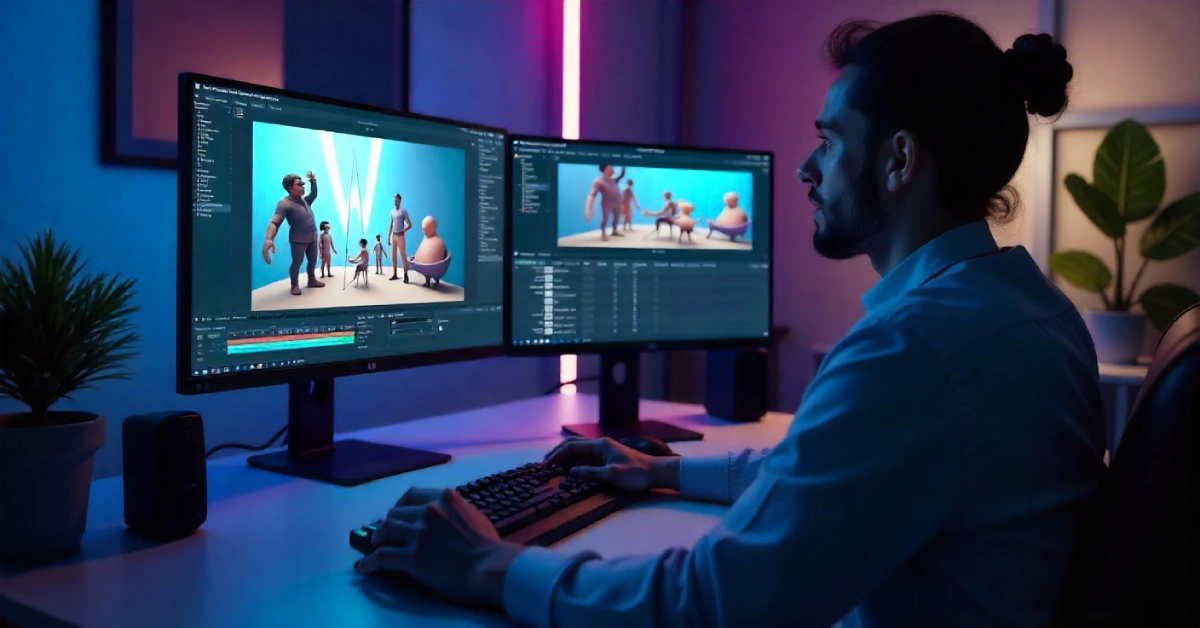
What Is SFM Compile and Why Should You Care
SFM Compile is the process of converting your Source Filmmaker project into a final video file or preparing game assets for use inside the animation tool. Think of it like baking a cake: you mix all your ingredients (models, textures, animations, lighting), then the compilation process bakes everything together into something shareable. Without compiling, your work stays trapped inside the editor, useless to anyone outside your computer.
When you compile a video, SFM renders each frame, applies all your lighting and effects, then encodes everything into formats like MP4 or AVI. For asset compilation, you’re converting raw files—models from Blender, custom textures, or downloaded Workshop content—into formats the Source engine actually understands, like .mdl or .vtf files.
Why does this matter? Because proper compilation determines whether your animation looks crisp or pixelated, whether it crashes halfway through rendering, and whether you can actually share your masterpiece on YouTube. Skip this step or mess it up, and all that creative work hits a dead end.
Mastering SFM Compile means you control the final quality of your animations. You decide the resolution, frame rate, and compression settings that make your work shine. Plus, understanding compilation helps you troubleshoot problems faster, saving hours of frustration when something inevitably goes sideways.
Setting Up Your SFM Project Before You Compile
Before you hit that export button, make sure your project is actually ready. Open your timeline and scrub through the entire animation, checking for floating props, clipping issues, or lighting glitches. Fix these now, because once rendering starts, you’re committed.
Check your audio sync too. Play your animation a few times and verify that dialogue, music, and sound effects line up perfectly with the visuals. Audio desync is one of those annoying problems that’s way easier to catch before compilation than after.
Organize your scene by removing unnecessary props and particles that aren’t visible in the final shot. Every extra element slows down rendering, so clean house. If you’ve got dynamic lights everywhere, consider consolidating them—your GPU will thank you.
Save your project under a new name before compiling. This creates a backup in case something goes wrong during the render. You don’t want to corrupt your main file halfway through a six-hour compilation session.
How to Compile Video in Source Filmmaker
Ready to turn your animation into a video? Open your SFM project and navigate to File > Export > Movie. This opens the export settings window where all the magic happens.
Set your resolution first. For YouTube uploads, 1920×1080 works perfectly and gives you that crisp HD quality viewers expect. If you’re shooting for higher-end portfolios or client work, bump it to 4K (3840×2160), but be prepared for significantly longer render times.
Choose your frame rate next. Most animations look smooth at 30 FPS, which balances quality and file size nicely. If you want buttery motion—especially for action-heavy scenes—go with 60 FPS, though this doubles your render time and file size.
Pick your file format carefully. MP4 with H.264 encoding is your go-to for web uploads because it compresses well without noticeable quality loss. If you’re editing the footage later in Premiere Pro or DaVinci Resolve, export as uncompressed AVI or a TGA image sequence instead.
Adjust quality settings based on your needs. Enable anti-aliasing to smooth jagged edges, and turn on motion blur if your animation has fast movements. Both improve visual quality but add processing time, so test renders help you find the right balance.
Hit Export Movie and watch SFM work its magic. The software renders frame by frame, which can take anywhere from minutes to hours depending on scene complexity and your hardware. Don’t panic if it seems slow—that’s normal.
Compiling Custom Assets for SFM Projects
Sometimes you need to bring outside assets into Source Filmmaker, like models from Blender or textures you created. That’s when SFM Compile shifts from video rendering to asset preparation.
Start by exporting your model from Blender as an .smd or .dmx file. These formats work with the Source engine and preserve animations, bones, and materials. Keep your file paths simple—no spaces or special characters—because the compiler gets picky.
Next, write a QC file. This text document tells the compiler how to process your model, referencing textures, defining collision boxes, and setting up animations. It looks intimidating at first, but plenty of templates exist online that you can copy and modify.
Download Crowbar if you haven’t already. This free tool compiles your .smd or .dmx files into the .mdl format that SFM actually loads. Point Crowbar to your source files, set your output folder (usually inside SFM’s usermod directory), and click Compile.
Test your compiled asset immediately. Load SFM, navigate to your usermod folder in the asset browser, and drag your model into a scene. Check that textures appear correctly, bones move properly, and nothing crashes. Catching problems early saves massive headaches later.
Common SFM Compile Errors and Quick Fixes
SFM crashes during compilation? First, lower your resolution and quality settings to reduce memory usage. Close every other program running on your computer—Chrome tabs, Discord, Spotify—because they’re hogging RAM your render desperately needs.
Black textures or missing materials in your compiled video usually mean texture paths got messed up. Open your project, reapply the problematic textures, and verify they’re actually installed in your SFM directory before trying another render.
Audio sync issues drive creators crazy, but the fix is straightforward. Match your export frame rate to your timeline’s playback speed (both should be 30 FPS or both 60 FPS). If that doesn’t work, export video and audio separately, then sync them in a video editor.
Ridiculously long render times? Optimize your scene by reducing dynamic lights, simplifying high-poly models, and disabling effects you don’t absolutely need. Also, make sure your graphics drivers are updated—old drivers slow everything down.
If Crowbar throws compilation errors for custom models, read the error log carefully. It usually pinpoints exactly what’s wrong, like missing texture files or syntax mistakes in your QC script. Forums and Reddit threads often have solutions for specific error codes too.
Best Practices for Fast and Clean Compilation
Always do test renders before committing to a full compilation. Export just 5-10 seconds of your animation at your target settings and review the output. This catches quality issues early without wasting hours on a flawed full render.
Upgrade your hardware if you’re serious about animation. A quad-core CPU minimum, 16GB RAM, and a decent GPU like the GTX 1060 or better make SFM Compile significantly faster and more stable.
Use an external encoder for better compression. While SFM can export directly to MP4, running your raw footage through HandBrake afterward often cuts file size by 30-40% with zero noticeable quality loss.
Keep your SFM installation updated. Valve releases patches that fix bugs and improve performance, so check Steam regularly. Updated graphics drivers help too, especially if you’re running Nvidia or AMD cards.
Join the SFM community on Reddit, Steam forums, or Discord servers. Experienced creators share compilation tricks, troubleshooting scripts, and optimized settings that can save you tons of trial-and-error time.
Optimizing Your Workflow for Professional Results
Batch processing saves time when you’re working on multiple scenes or projects. Set up your compilation settings once, then queue several exports to run overnight while you sleep. Wake up to finished renders ready for editing.
Create presets for different output types. Save one preset for YouTube uploads (1080p, 30 FPS, MP4), another for high-quality portfolios (4K, 60 FPS, ProRes), and a low-res one for quick previews. This eliminates repetitive setup.
Learn keyboard shortcuts for common SFM tasks. The faster you navigate the interface, the more time you spend actually creating instead of clicking through menus. Small efficiency gains add up over dozens of projects.
Document your settings when a compilation works perfectly. Take screenshots of your export settings, note which optimizations you applied, and save successful QC files as templates. Future you will appreciate the reference.
Wrapping Up Your SFM Compile Journey
You now understand what SFM Compile means, how to render videos properly, and how to prepare custom assets for your projects. More importantly, you know how to troubleshoot the common headaches that trip up beginners and waste valuable creative time.
Compilation isn’t just a technical step—it’s where your creative vision becomes something real that you can share with the world. Master these skills, and you’ll spend less time fighting software and more time telling stories.
Start small, test often, and don’t stress when things go wrong initially. Every animator has dealt with crashed renders and missing textures. The difference between hobbyists and pros is that pros know how to fix problems fast and keep moving forward.
Your SFM animations deserve to look their best. Now go compile something awesome.